DIY Chocolate Molds - Revisited Topic I think

timwilde
@timwilde
01/10/17 10:08:51AM
36 posts

Hello everyone!  I'm sure this has been discussed but cant find anything recent. But I'm looking for a cost effective way to get a custom mold done and as I've been researching I found quite a few ways that I'd like some choco-life feedback and opinions on.

There's 2 ways I will ultimately go about this so this is getting done, but looking for safest and most cost effective way to do this.

3D printing.  It's come a LONG way since I started researching this several years ago. In the past couple years filament materials have kind of exploded - to the point it's nearly impossible to keep track of all the available materials. It's no longer a matter of PLA or ABS if you too havent looked at this in a while.

In the last year, a few companies have produced an FDA Approved Food Safe filament. There are a few companies making stuff with PET-G (water and soda bottle materials, lesser extent hobby grade mold sheets) and Polycarbonate.  But only a few have gone that extra step to get FDA Approval and it's stamped on the spool.  

So, has anyone contemplated any of this, looked any further on the aspects of 3d printing custom molds?  

I should note, that 3d printers have stepped up in quality, they still dont have super fine resolution without going the route of say, Shapeways, with the multi tens of thousands of dollar machines.  However, that should not stop you from finishing any mold that comes out. Sanding, polishing, engraving fine details, sealing (if necessary)

Doing things this way, if you already have the printer, it should only cost approx $10-$20/mold depending on mold size and who you source your filaments from.

I do have a line into the FDA to confirm that this is food safe and possible. The big question on hand is if it's a sterilizable finished piece. Polycarbonate does require much hotter temps to print though, so any bacteria on the filament is likely to be destroyed.  Proper finishing should provide a food contact surface that is sterilizable though.

So while I'm waiting I'd love to hear your opinions on the matter.

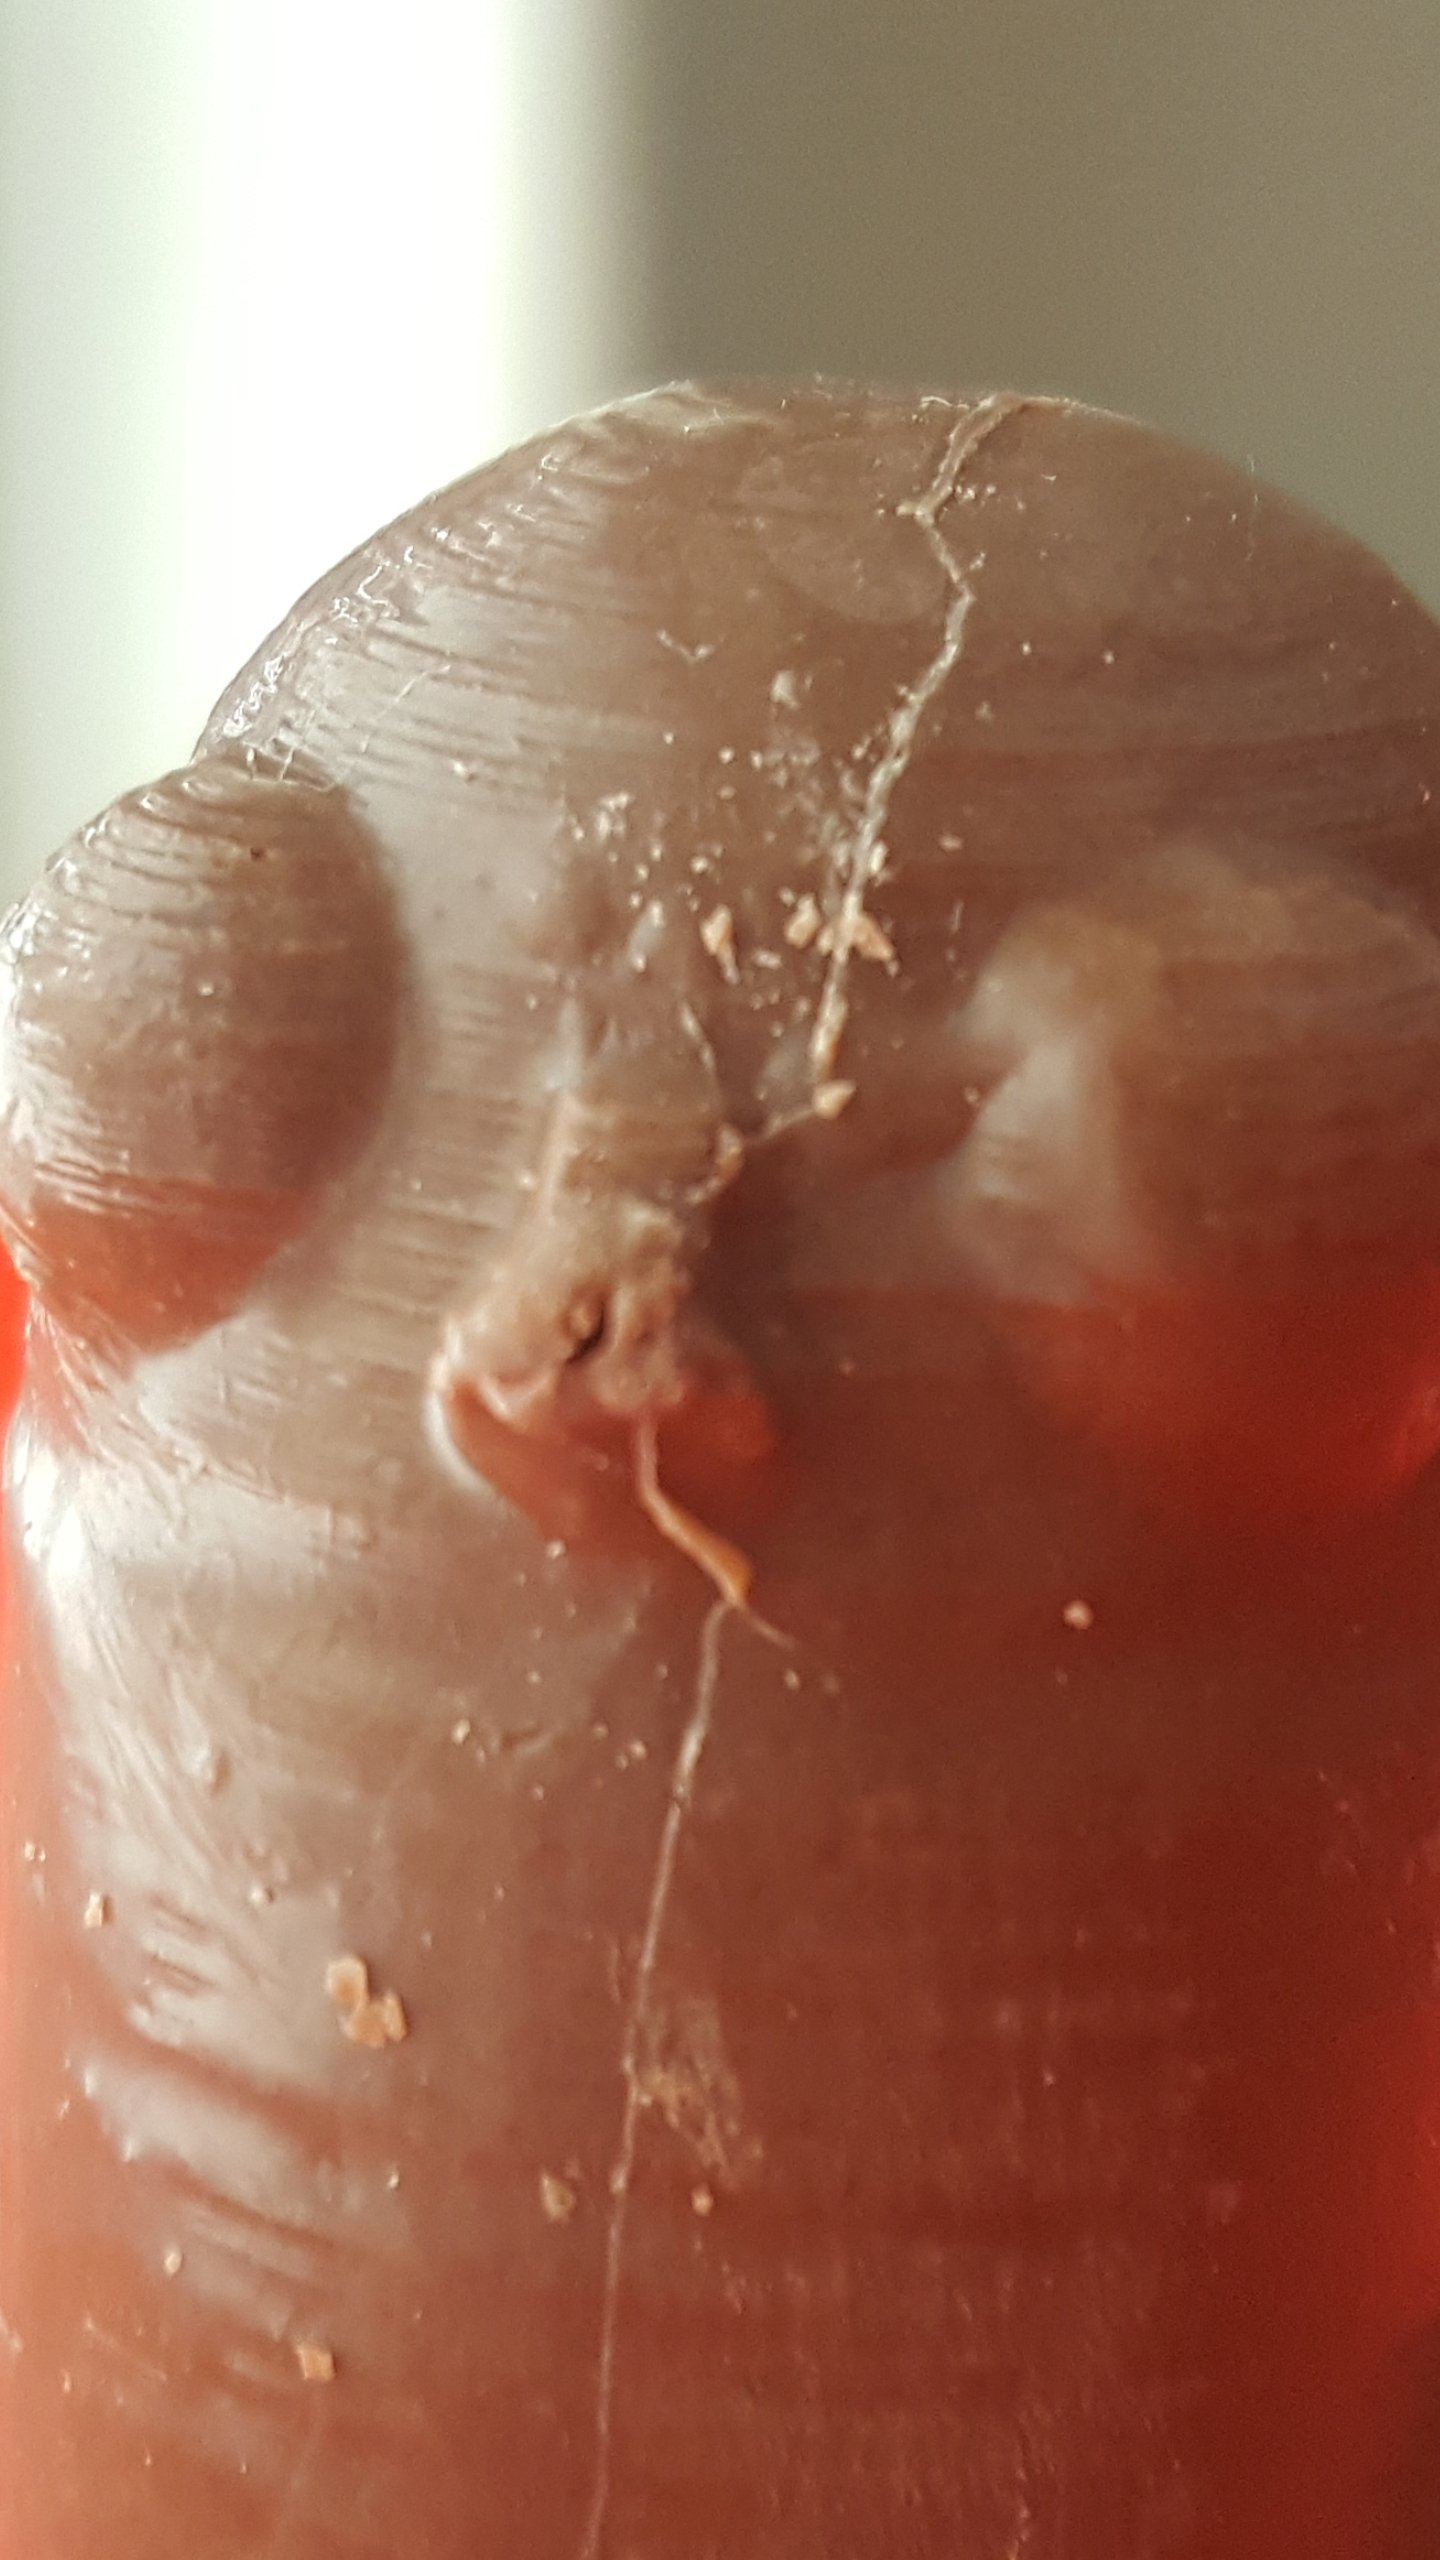
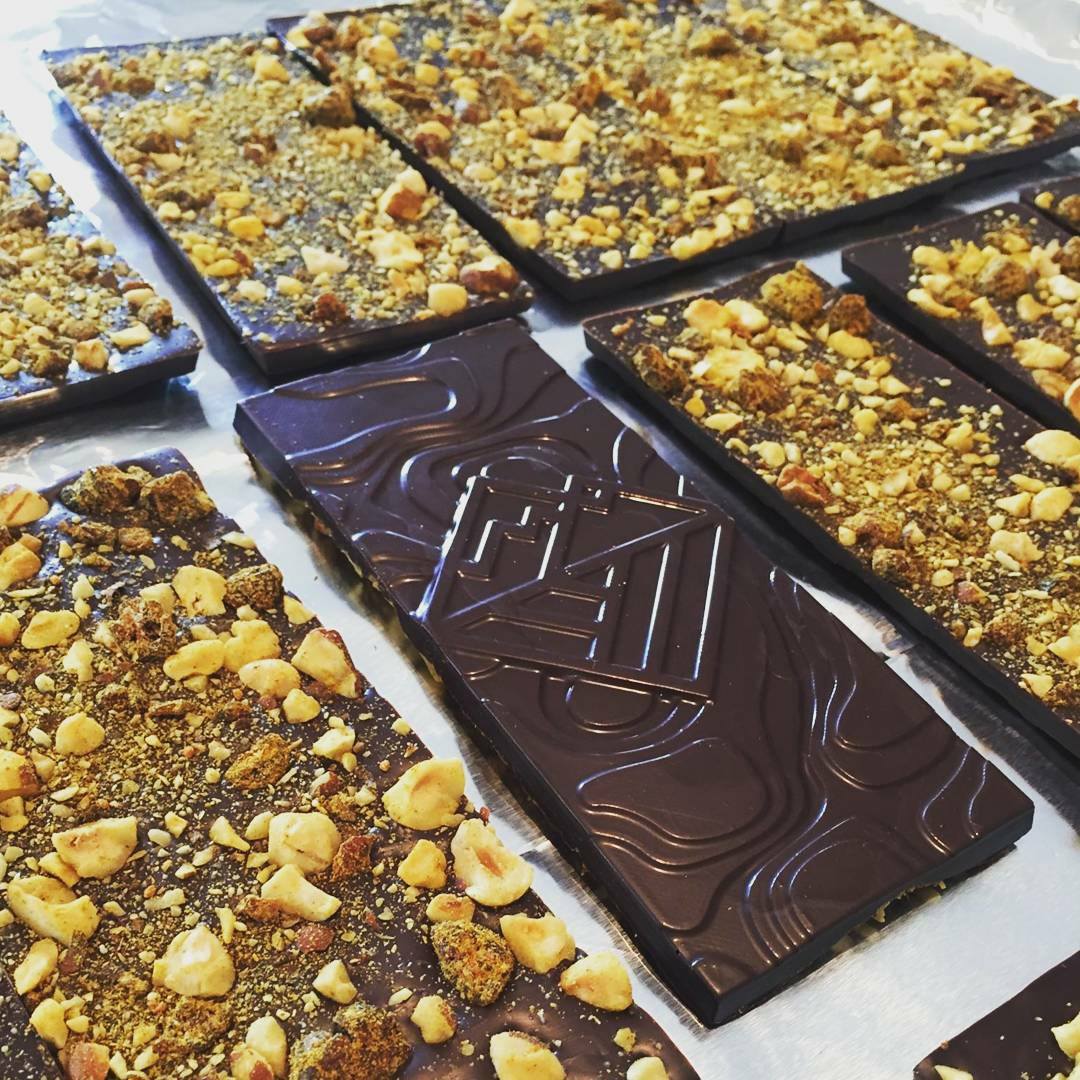
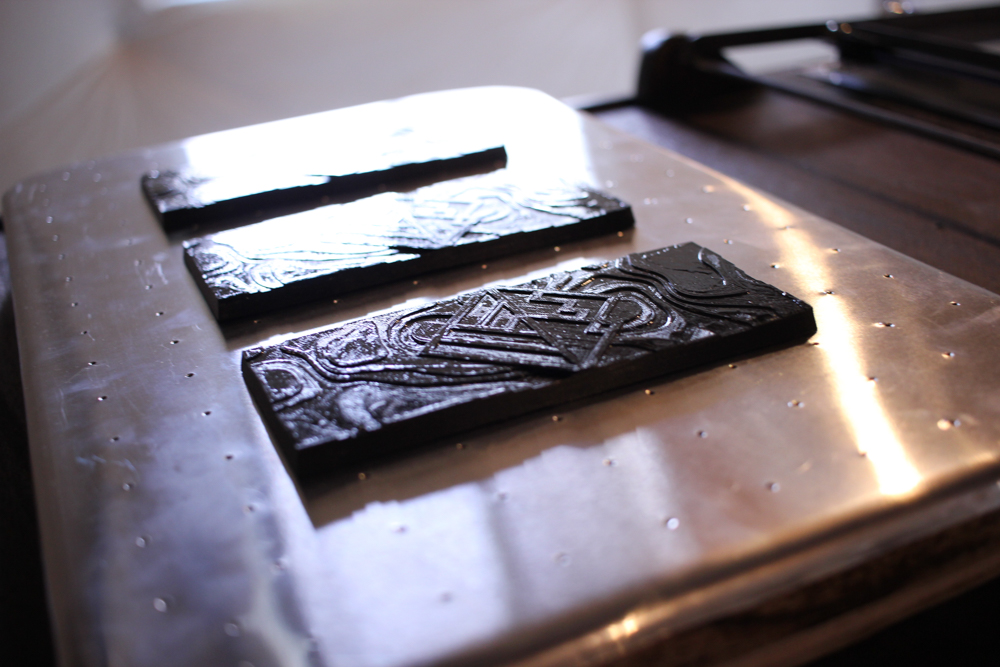
The other, much more expensive option is to 3d print a "positive".  Well, I guess in mold making terms they'd ultimately be negatives. But you'd design the bar/tablet/bonbon the exact way that you want it to look. You then print that out in whatever plastic is your choice.  Then you spend extra time getting that finished/post processed to look as perfect as you can get it.  Then you use that as a negative and pour a silicone mold of the printed piece.

With the mold materials that I've seen and researched, this is entirely food safe and sterilizable and may actually make for a better mold than what Polycarbonate can do due to stretching and elongation properties of the silicone. That being said, an "avg" size mold would run between $30-$50 each.  Better than getting an injection mold created, but also more expensive than just buying commercially available molds.

Anyone trying any of the above options? What are your thoughts on it? If you've tried it, how is it working for you?

timwilde
@timwilde
01/18/17 11:24:45AM
36 posts

Well, the FDA came back with an answer.  The first answer was kinda bunk, gave me an application for a new Contact Surface.

However, I asked them more directly and got a response back.  Essentially if the printer itself and the materials can be safe, it is ok with the FDA. The onus is on the manufacturer (you in this case) to follow FDA guidelines for food safety.

PETG is a filament that is now regularly available. I would imagine research would be needed to find out if the colors are food safe, but clear/natural PETG would be recommended.  PETG can be sterilized by going through the dishwasher and withstands high heat.

Polycarbonate is another filament that is considered to be an exotic filament at the moment. It's available but more expensive than PETG and it's only available from some companies.  PC can be sterilized through dishwashing procedures and it can withstand high heat.

Printer extruders and hot ends can be made out of stainless steel or printed via PC or PETG for food contact safety.

This all being said, 3d printers arent exactly user friendly and you would still need to learn CAD or 3d modeling of some sort to do this completely DIY.  Luckily for me, that's my background. I was just wondering if there are others attempting this and how it's working out for you.   I just ordered my first 3d printer and expect to have a foodsafe printer capable of printing in Polycarbonate sometime over the summer.

I'm kind of excited that these breakthroughs have been made and that it seems that a reasonable cost for custom chocolate molds.  The designs also dont have to be awkward to handle because there's no need for injection molding support and structure in the mold.  This can make the mold smaller or be able to support more cavities than is usually available in a given commercial mold.

KevlarCoated
@kevlarcoated
01/20/17 01:01:05PM
5 posts

Have you considered vacuuming forming the mold? You could 3D print the positive then vacuum form polycarbonate over it. If you have access to a vacuum former its probably the easiest and cheapest option

timwilde
@timwilde
01/20/17 01:26:31PM
36 posts

Vacuum would be more expensive than simply printing the mold.  Which has been confirmed is possible and allowed :D

Andy Ciordia
@andy-ciordia
03/17/17 11:20:46AM
157 posts

What I'm curious of is how to 'finish' the mold. I haven't seen many 3d printers give a RTG mold that is smooth--like butter, perfect smooth--the smooth that will shine a temper right. Most people have to do some sort of acid bath and finishing agents to get that final look and that's for models. I have no idea what the process would be and if at the end of it is it still food-touch-safe?

Also Vacuum isn't expensive to get a setup to do warm/oven-plates. Just need the objects you want to thermoform. You can even DIY build a setup. Not the same, but it's fun to tinker with.

timwilde
@timwilde
03/17/17 11:35:46AM
36 posts

Finishing can by done a number of ways. Most basic is just using sand paper and sanding the part smooth. Vapor polishing works by using a solvent that works on the specific material and works by allowing the vapor to melt the surface of the plastic. As to the foodsafe qualities after vapor polishing, it should go back to being safe once the solvent has fully evaporated out of the part and the part has been washed.

The solvent does evaporate fully, if it did not, then the plastic would never harden back up.   Again, those chemicals are different for the different plastics.

Really, it just depends on the quality of the part you're trying to achieve and what amount of time you're willing to spend on finishing the part. Usually there's some combination of finishing techniques that are used to finish printed parts.

Andy Ciordia
@andy-ciordia
03/17/17 11:53:07AM
157 posts

Nice. My son and I are creating a Makers room in the home and we'll be tinkering with a bunch of things we haven't before. Looking at building a printer kit or maybe picking one up used. Keep us posted on your trials or experimentations. We'll certainly do the same but its a bit farther out at the moment.

Sue foster
@sue-foster
03/17/17 12:48:41PM
14 posts

My husband made a vacuum mold machine. What we do is customize candy bars. We have the customer send us what they want to put on the candy bar in an AI format we then send the graphic to our engraver, he then lasers us 16 molds of the candy bar. We then put those on a large board (we have the  board and plastic pre cut to fit the molds) and then we are able to vacuum the candy bar molds. We make 4 molds with 4 candy bars on each mold at one time. It took some practice but the molds are coming out nice!! and the candy bars look great. We charge a one time set up fee for the candy bar molds and request a 2 week lead time to get the molds made once the graphics have been sent to us. The molds end up costing a few dollars each. 

timwilde
@timwilde
03/17/17 01:07:07PM
36 posts

Very nice!!  I originally thought that I would need to do vacuum molding to do any custom work. 3d printers, at the time, only had ABS or PLA as printable filaments.  In the last 2 years though, that's dramatically changed; PETG, Polycarbonate, Nylon, as well different alloys of PLA and ABS.  As soon as I saw PETG and Polycarbonate available, I thought I'd look into skipping the intermediary step of printing the positives and doing the forming.

BTW: The primary reason I thought it would be more expensive is that the vacuum is limited by strength; you can diy almost all of it. But to get good plastics and reusable molds out of the deal, you end up going super thin or different materials that are more brittle. Polycarbonate, as an example, has an extremely high melting temperature.

I'll keep posting here. As of right now I'm fairly confident in my printing skills, however, I'm building up a higher quality printer. I still need a few pieces before I can appropriately test a good PC or PETG mold.

As for resolution; nozzles are available as small as 0.15mm  Resolution for movement is usually in the 0.05mm range.  Frankly, much smaller than that and you start having surface tension and viscosity issues with chocolate. Between a dremel engraving kit to polish up the surface and different vapor polishes i'm fairly confident that I'll have something quite usable.

I'm also expecting to go full custom, but still have to learn the software so I can start charging for that setup. 

plainstopeakschocolate
@plainstopeakschocolate
03/30/17 08:45:27AM
1 posts

We created a similar process. We designed our bars using Adobe Illustrator and created 3D models using Sketchup . We printed the bar "positives" using a budget 3D printer set to its finest resolution settings.

We bought some plans online to build a vacuum form machine. The plans were great and offered many options for customization.

Once we got the machine up and running we had to source some plastic. We purchased some PETG and Polycarbonate. The polycarbonate would be great but have found that it requires much too high of temps (like @timwilde mentioned) and melts our 3D printed molds after a single pull.

PETG is working great for now. It creates very detailed molds that have stood up well.

I've attached some pics of the process as well as an image of the final bars. Note that these pics were from pretty early on in the process. Since then we added a frame for rigidity and reprinted the "positives" a few times as we tweaked the design.

Would love to hear any feedback or answer any questions as we have learned so much from this great community.


IMG_5255.jpg
IMG_5255.jpg  •  378KB

IMG_5258.jpg
IMG_5258.jpg  •  420KB

IMG_5261.jpg
IMG_5261.jpg  •  371KB

IMG_5280.jpg
IMG_5280.jpg  •  510KB

IMG_5292.jpg
IMG_5292.jpg  •  398KB

Andy Ciordia
@andy-ciordia
04/03/17 12:50:59PM
157 posts

Good reporting @plainstopeakschocolate. :) 

What kind of printers are currently being tinkered with? We were gonna build a kit but then I wasn't sure if we needed a specific kind when it came to PETG since the nozzle temps need to be higher..

timwilde
@timwilde
04/03/17 03:54:43PM
36 posts

the standard nozzle from most printers will print PETG. The temps are lower than that of ABS, and the only restriction to printing ABS based on printer is a lack of heated bed. 

Polycarbonate, in contrast, requires an upgraded hotend to allow for 300C+ temps. The e3d v6 all metal hotends are capable of this, and ship with a proper thermistor that will accurately read higher than 300C.

Most other non-upgraded hotends are limited to the thermistor's capabilities. A cheap i3 clone kit can easly do 260-270C.

Some kits to look at to get started with tinkering; Anet A8 and Prussa i3 Mk2.  The A8 is a clone kit built in China, can usually find it around $170-$200 USD Sometimes cheaper.  Prusa i3 is the original designer and uses higher quality parts and provides a warranty as well as support but sells for $699. The A8 can be upgraded bit by bit to be better, such as having an e3d v6 hotend.

If you're more adventurous, you can try and build a clone yourself. A video guide of doing just that is located here:

https://www.youtube.com/watch?v=oVWLpvekby0&t=42s

There's 6 parts to the series, and the build videos avg about 2-3 hours each.


updated by @timwilde: 04/03/17 03:57:52PM
garfoid
@garfoid
06/29/17 09:03:05PM
16 posts

3d print the positive and seal with an epoxy resin. Then make the negative using food safe silicone. I tried using 3d printed abs as a test run for personal use. Cleaning it was a nightmare and heating and cooling warped it. Not to mention the potential bacteria growth in-between poolry sealed layers. It's much easier, faster and more reliable to print a positive, have a low infil and then do what I said. If you have a very soft silicone it's even better since you can get away with having a single piece mould rather than a two piece. The key is 100000% in the prep of the positive. If you rush it or use the wrong resin to seal it you end up with the lines transfering into your moulds and then chocolate.

By sealing I mean sealing the ridges of each layer. Anotjer option I've explored is vacum forming using APET Plastic. It's food grade and usually comes around 5mm thick so it's dead durable. But it's expensive and requires a beefy vac former.

Tags

Member Marketplace


Activity

Keith Ayoob
 
@keith-ayoob • one month ago • comments: 0
Posted a response to "Raw Cacao Beans vs 100% Dark Chocolate"
"@joe-john, I'd like to weigh in on this.  First, some of the nutritional info you post there is reasonable, some is not -- and that's not unusual...."
Tet Kay
 
@tet-kay • 5 months ago • comments: 0
Xocol855
 
@xocol855 • 3 years ago
Created a new forum topic:
slaviolette
 
@slaviolette • 4 years ago • comments: 0
Created a new discussion "Cost of goods produced":
"Hi Everyone, Been a long time member but I have not been in in a few years, the fact is that I had to close down my small chocolate business.. but now is..."
chocolatelover123
 
@chocolatelover123 • 5 years ago • comments: 0
Created a new forum topic:
New Chocolate Brand - "Palette"
Marita Lores
 
Marita Lores